In the last part we went through the overall setup for this home LAB. Lets now dive into installing the two solaris virtual machines. Before we start creating the virtual machines, we need to setup the 2 networks (one for connecting the VMs from outside and one for openfiler storage).
192.168.1.0/255.255.255.0 - Connecting the VMs from outside
10.10.10.0/255.255.255.0 - To connect the Openfiler storage to the VMs
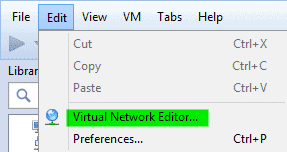
For this click on Edit -> Virtual Network Editor
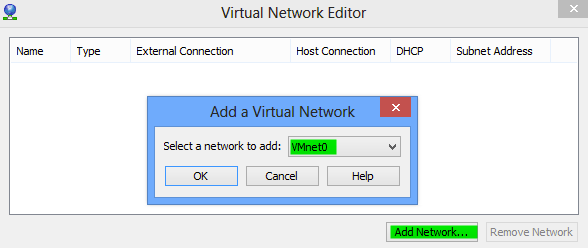
Now you would see some networks that are already present in the editor. Remove all the networks first. After you have removed all the networks click on the add button to add new network. We would select VMnet0 as our first network (192.168.1.0/24).
Select the settings as shown below with Host-only network and the Subnet IP 192.168.1.0/255.255.255.0.
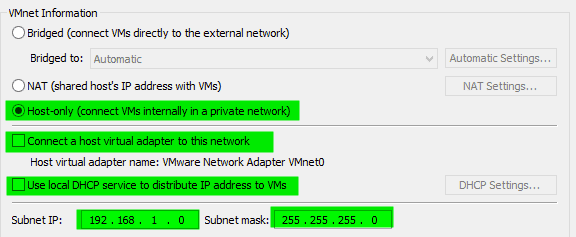
Now similarly create another network 10.10.10.0/255.255.255.0 with exactly same settings as above (only the subnet IP will be 10.10.10.0/255.255.255.0). Once you have created the 2 network you should see them as shown below.
![]()
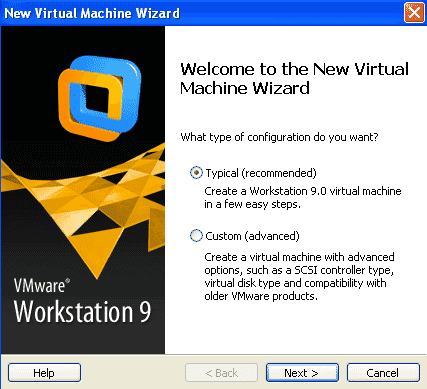
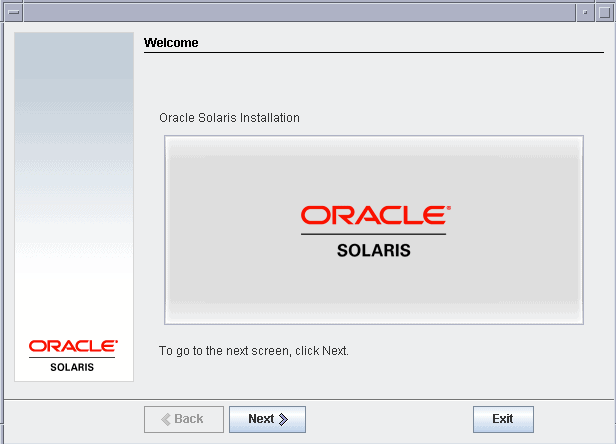
Now open up the VMware workstation and click on Create a New Virtual Machine icon in home.

Select a typical installation method
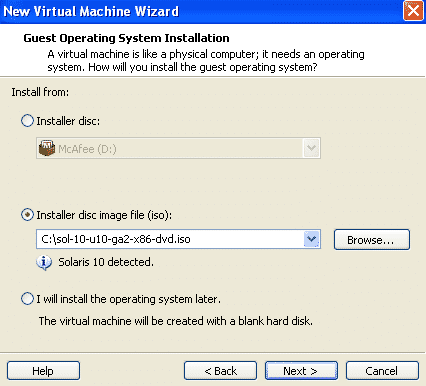
 Select the iso image of solaris 10.
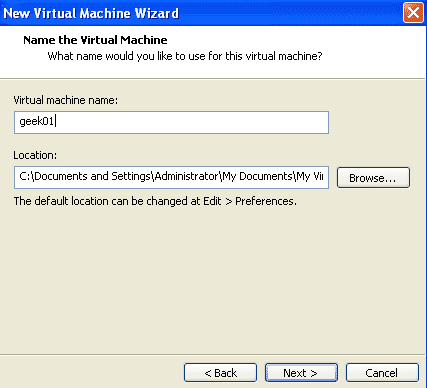
Name the first virtual machine as geek01. In case you want to change the location of this VM you can do so here.
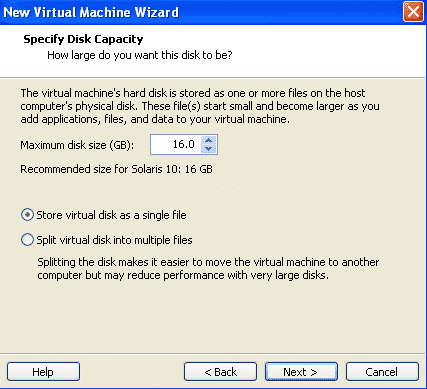
Set the Size of the root disk for this VM as 16 GB and tick the option “store virtual machine as single file”
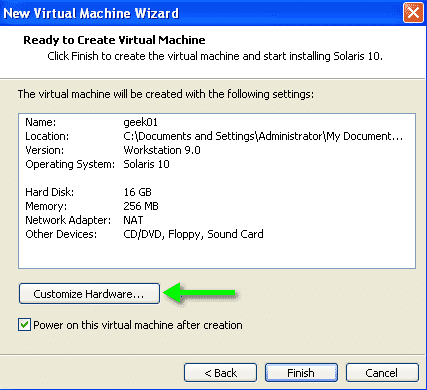
On the next screen click on the Customize Hardware
Set the memory of the Virtual Machine around 1.5 GB. Now you can also set it around 1 GB if you have less RAM in your host machine.
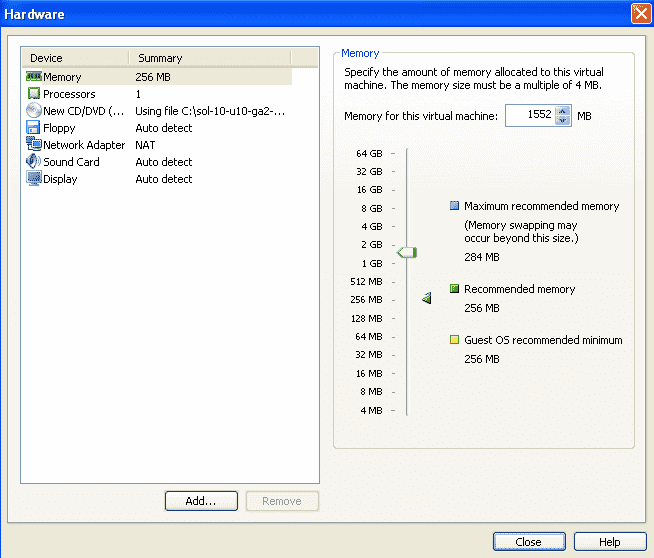
Remove unnecessary hardware like floppy drive and sound card.
Use the network we created for OS in the beginning of this post, VMnet0 for the first network card. We will assign the OS IP 192.168.1.11 to this NIC card.
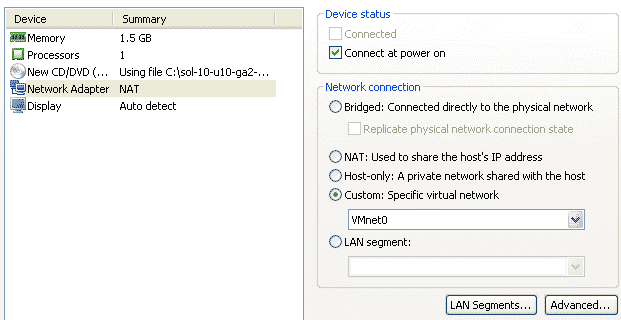
Now we will add 2 more NIC cards for the LLT interconnects. We will be using Host-only type NIC cards for the LLTs as these NIC cards will only be used in the inter-communication of these 2 VMs.

Select Host-Only network for this NIC and make sure the option “Connect on power on” is selected. Similarly add one more NIC card with exactly same settings as LLT.
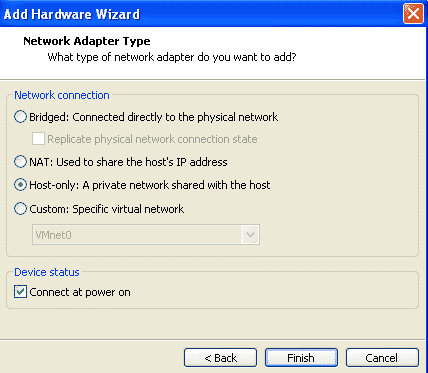
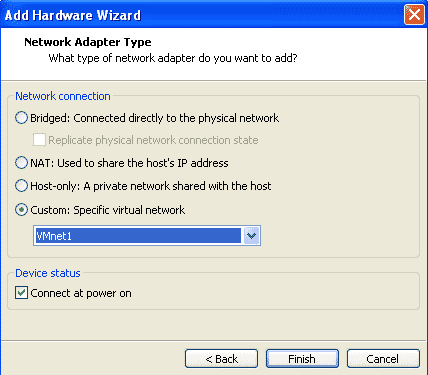
We will now add a NIC card for connecting to the openfiler storage. Click on add to and select custom network connection. Select the network VMnet1 which is for created for the openfiler storage with Subnet 10.10.10.0/255.255.255.0. This network will have an IP address 10.10.10.11
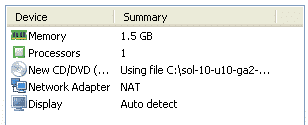
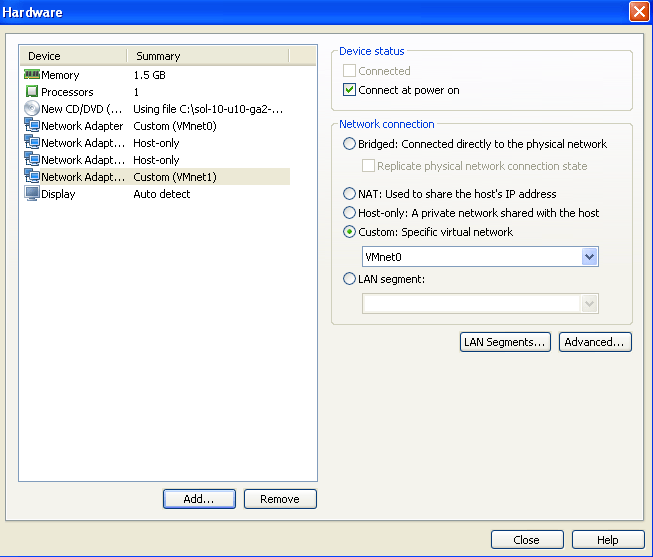
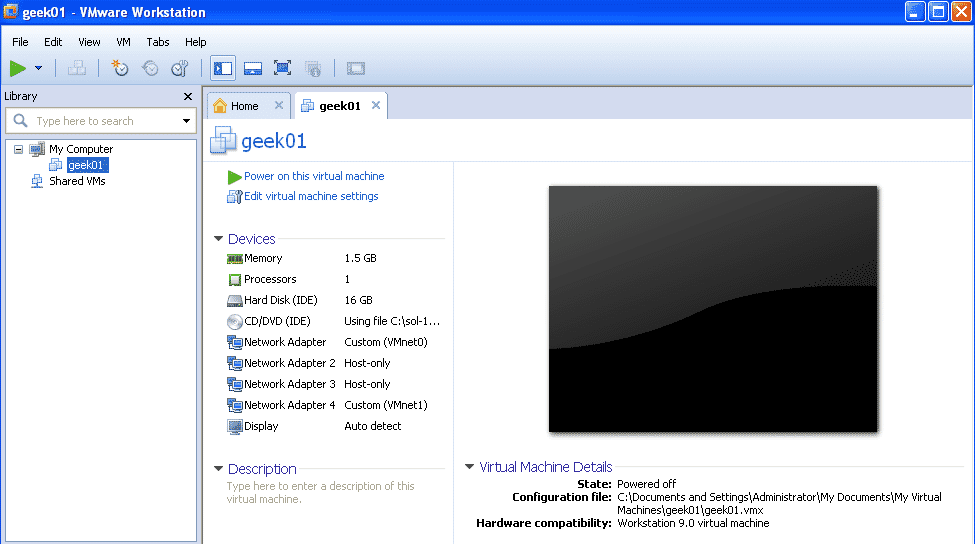
Now you should see all the 4 network cards in the hadware configuration of the Virtual machine.
All Right, we are up with configuring our first Solaris VM and we can now start installing it.
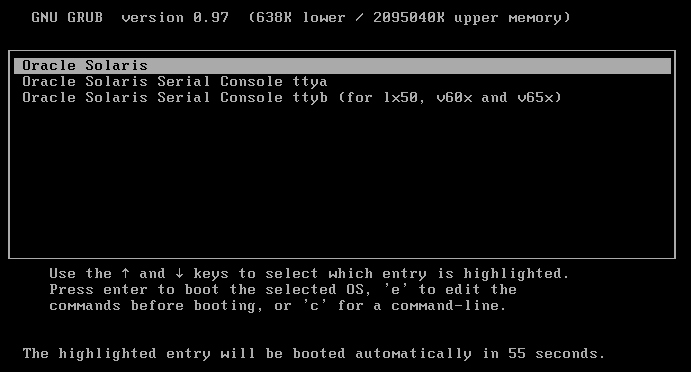
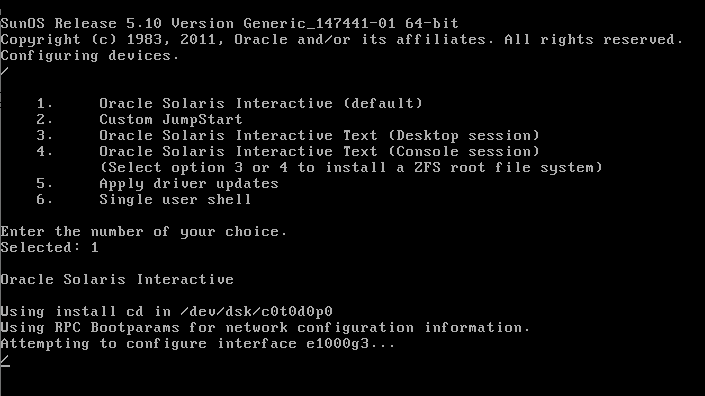
Boot up the Virtual Machine to start installing solaris. On the first screen select Oracle Solaris.
Select the option 1 to start Oracle solaris 10 installation in an interactive mode. The installer will start the interactive installation with identifying the hardware configuration of the VM.
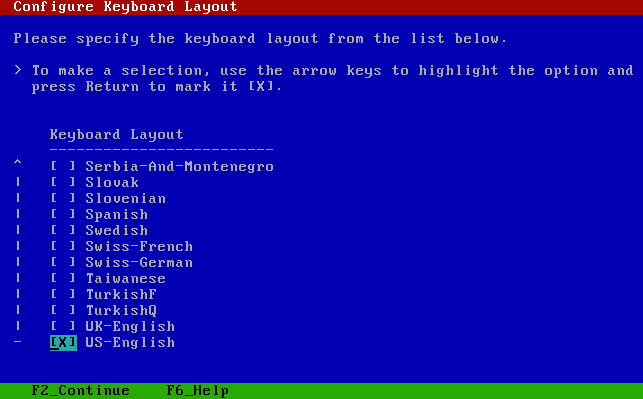
Select the Keyboard layout as US-English.
If you have assigned sufficient amount of memory to VM, then the graphical installation would start. Else you will have to do a normal non-graphical installation.
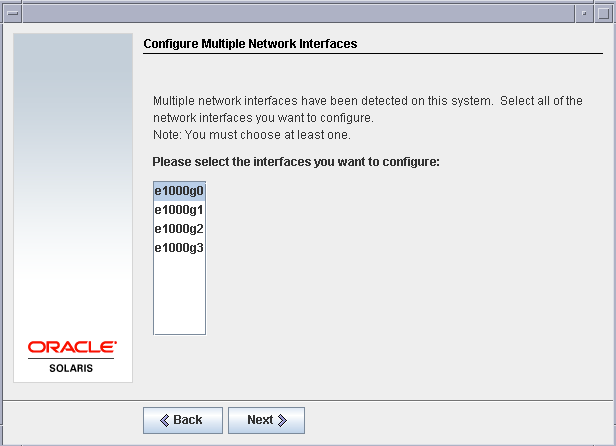
Select Networked as the network connectivity setting.

Now you should see the 4 NIC cards which we added in the beginning of this post. Select the first NIC card as the primary network card of this Virtual machine.
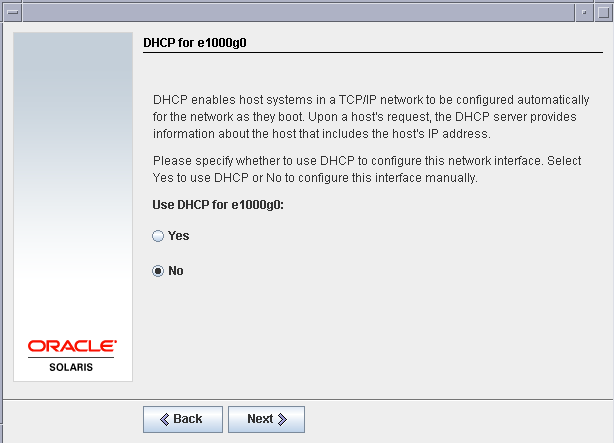
Select No for DHCP for the e1000g0 network card as we will be having a static IP configured for the same.
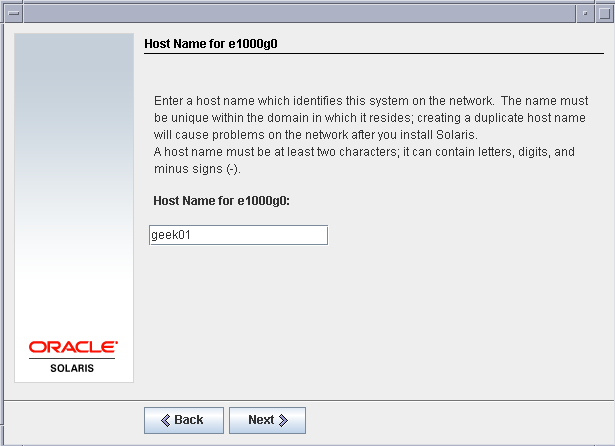
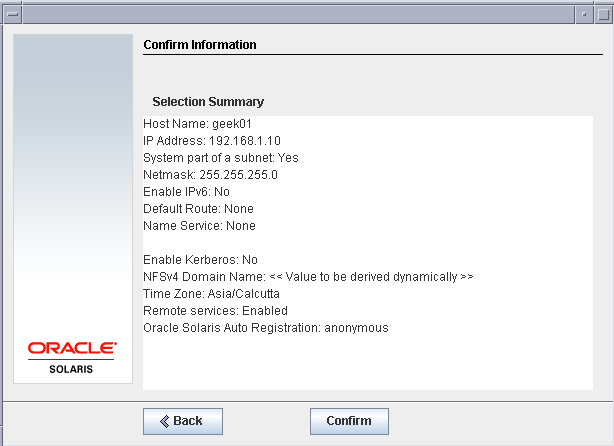
Give hostname as geek01 for our first virtual machine.
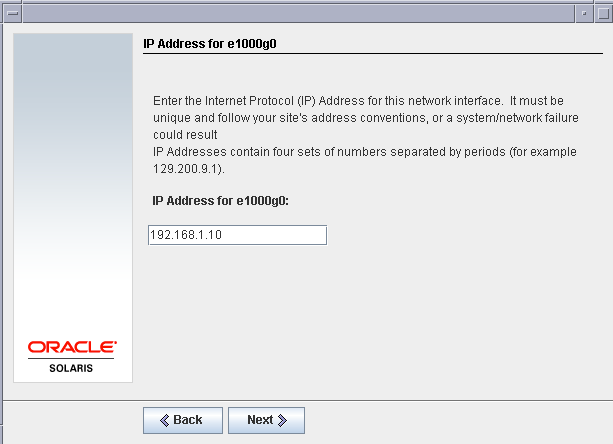
Set IP address as 192.168.1.1o for geek01.
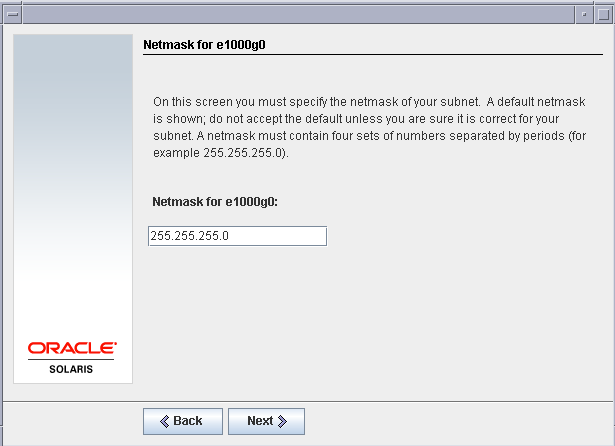
Set the netmask as 255.255.255.0 of the e1000g0 interface.
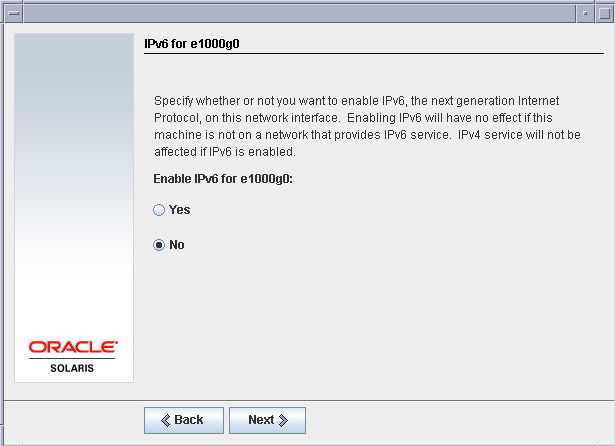
Disable IPv6 as we do not need it for this LAB setup.
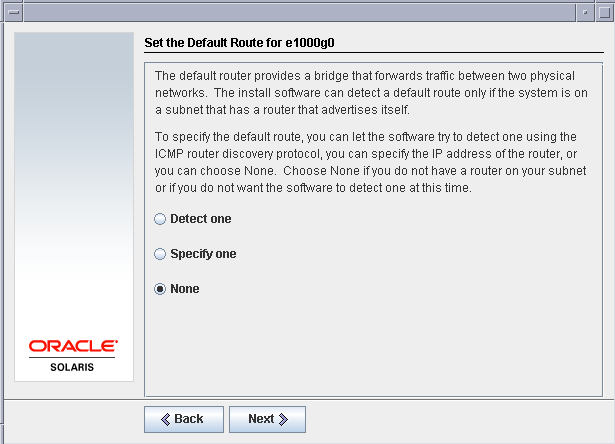
We do not need a default route for this setup as all the IP addresses are required to communicate among the same networks.
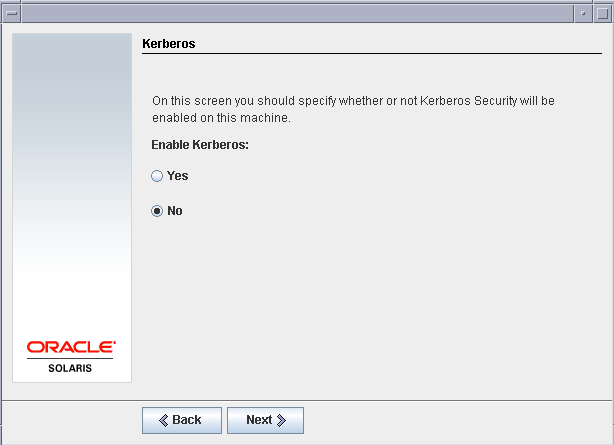
Disable kerberose security as we do not need it for this LAB.
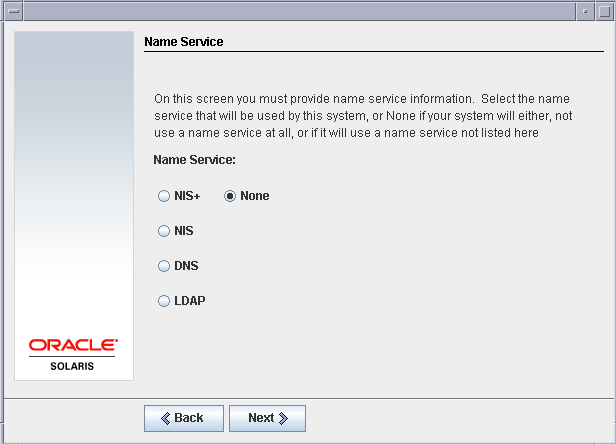
We do not need a Name service for this setup, so select None for Name service settings.
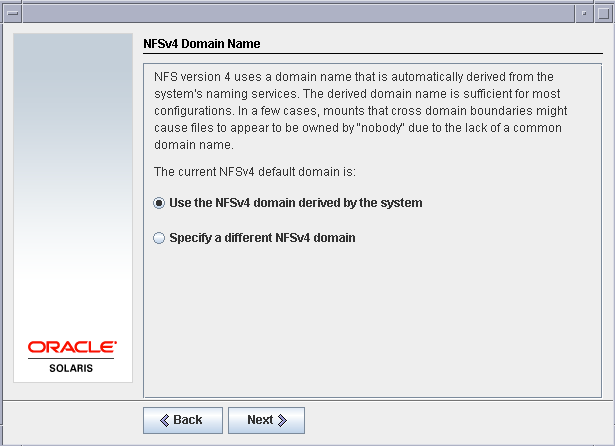
Set the option to derive NFS domain name as “Use the NFSv4 domain derived by the system”
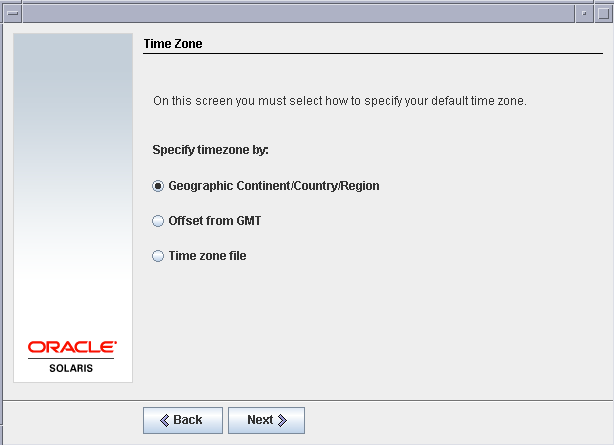
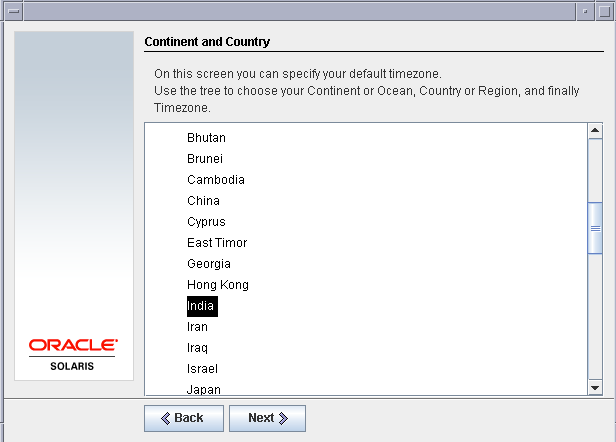
Now set the time zone according to your location. For me I will set it as Indian time (IST)
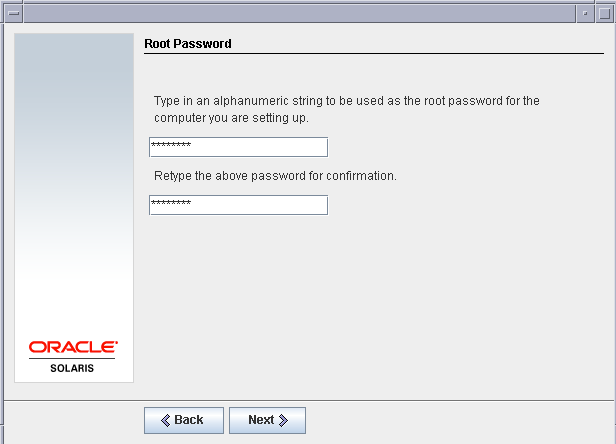
Set a root password for the virtual machine.
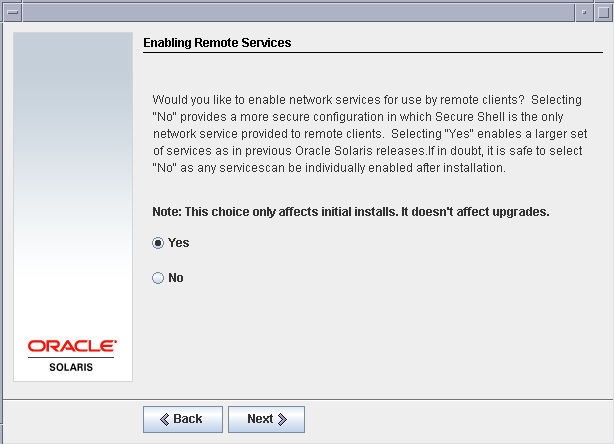
Enable remote services for this virtual machine to be able to connect it from a outside network.
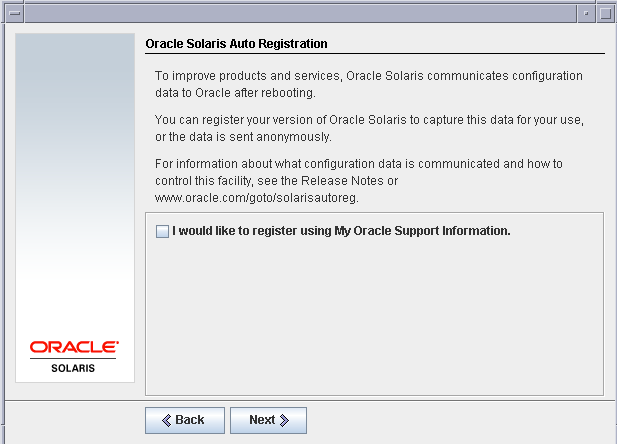
Registration with oracle is not required for the LAB setup.
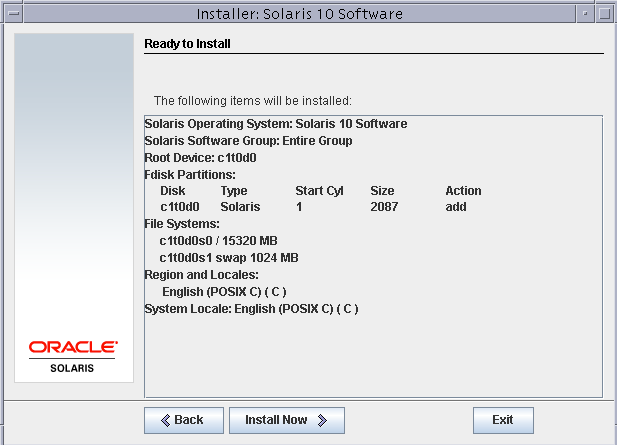
Confirm the settings on the next screen and click next.
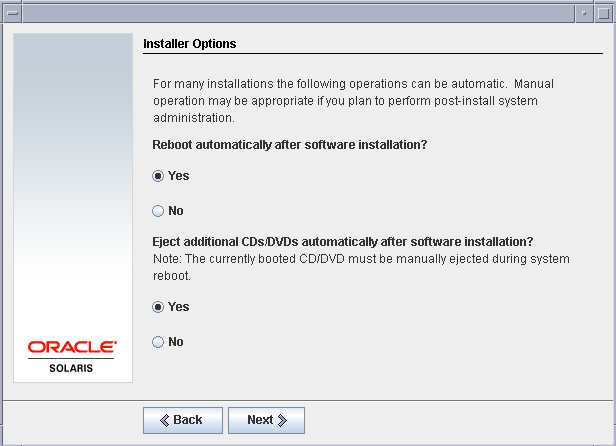
Let the default option be selected for the reboot after software installation and eject CD/DVD after installation.
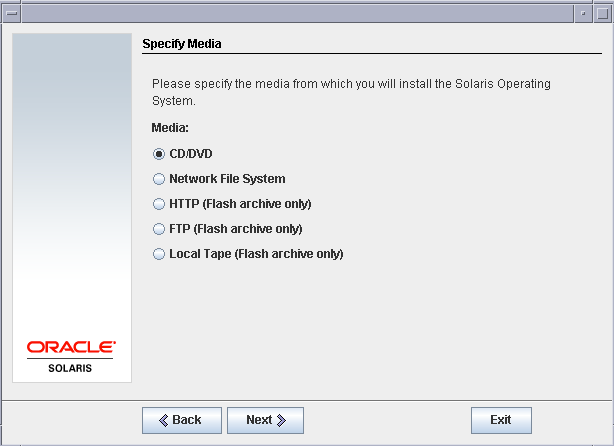
Select the media location as CD/DVD
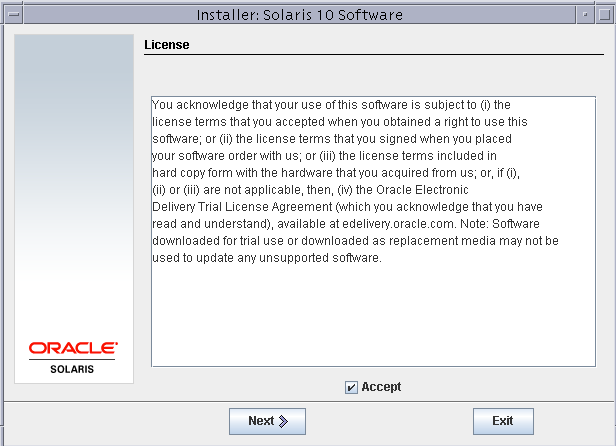
Accept the license agreement.
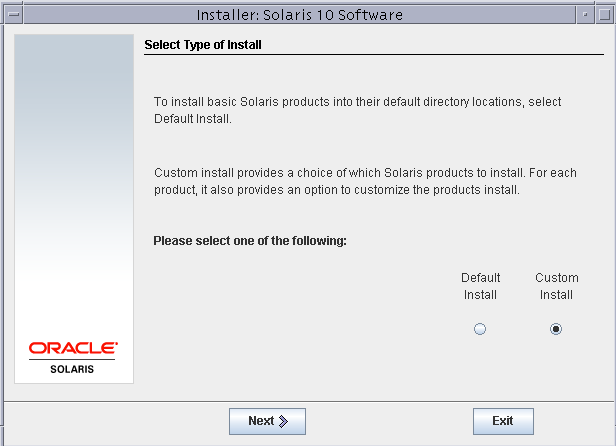
Select a custom install type for this installation.
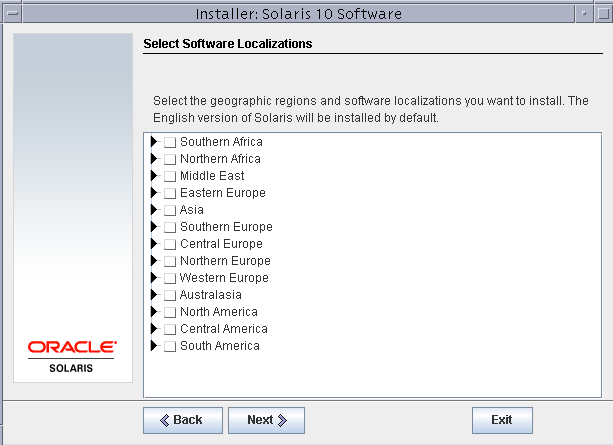
Do not select anything on this screen unless you want other than english version of solaris to be installed.
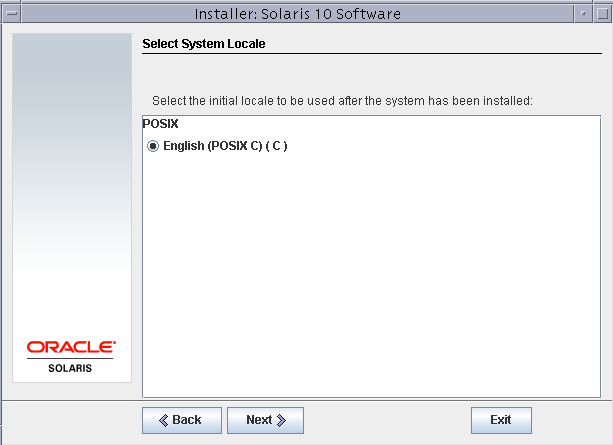
Select English (POSIX C)(C) as system locale. You can add other locales later on.
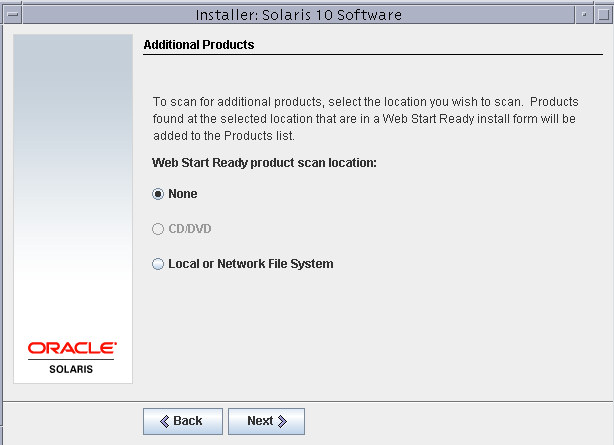
We do not need to install any additional products to this virtual machine.
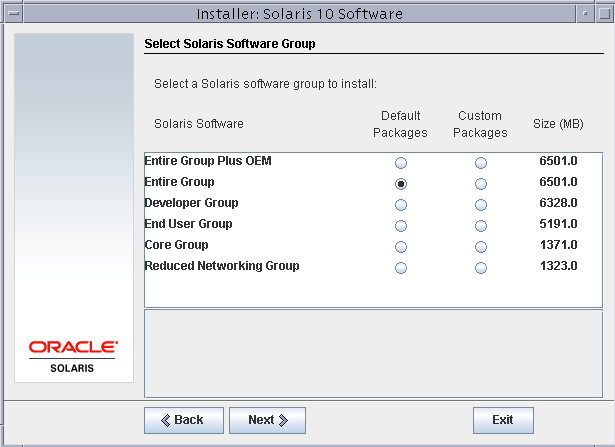
Select Entire group as the software group with default packages.
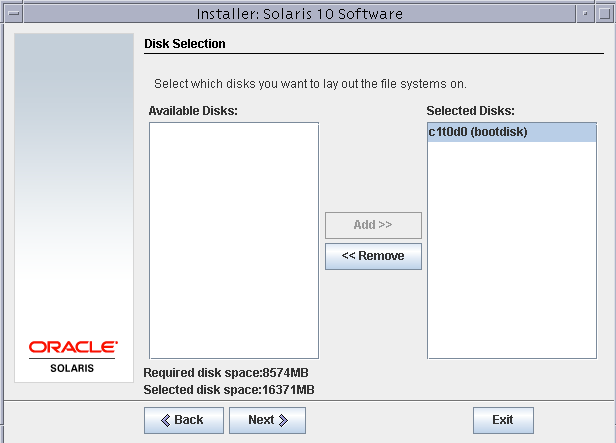
As we have assigned only one disk to this virtual machine, it will by default get selected as a boot disk. Click next on this screen.
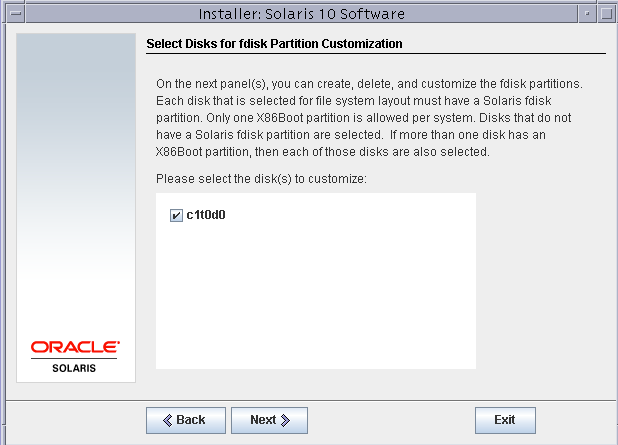
Select the disk for the fdisk partition. This option is only for x86 systems.
We will have only one fdisk partition with all space assigned to it. So no need to change anything on this screen. Click next.

Select the disk and click modify to modify the partition table.
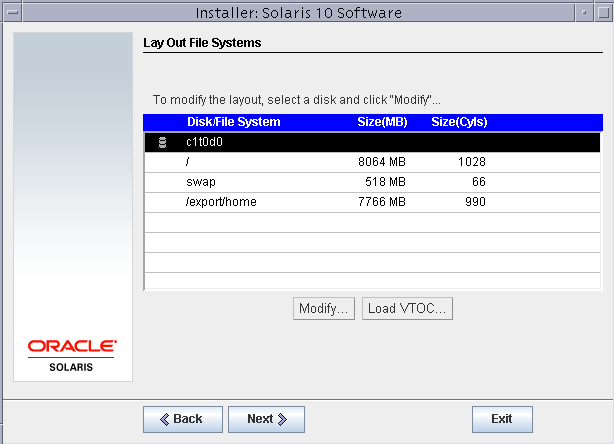
Remove the /home/user partition as we do not need it for this setup and set root and swap partition sizes as shown below.
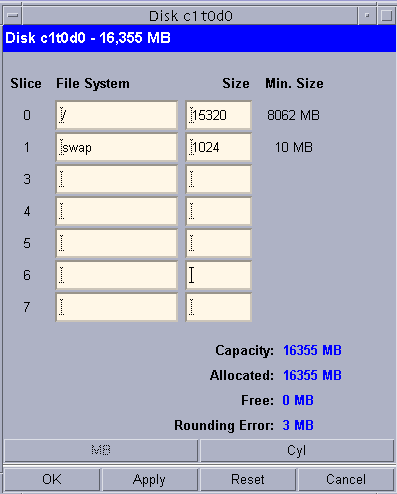

Confirm the partition layout and click next.
Solaris 10 installation would start. this may take somewhere around 45 minutes to complete.

Installating VMware tools in the Virtual machine
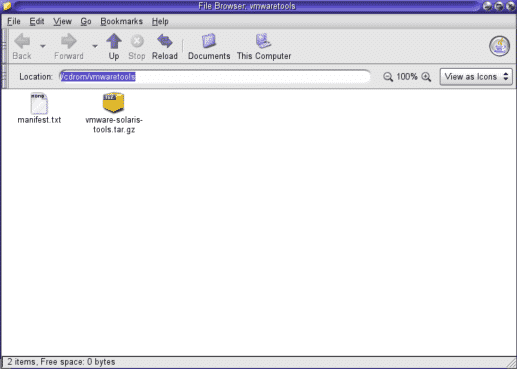
We need to install the VMware tools in order to have a seemless mouse pointer integration with the virtual machine and Host machine. Else you will have to always click ctrl to come out of the VM. For this go to VM > Install VMware Tools. The installer cd will automatically be mounted inside the Solaris VM as shown below.
Now just open the terminal and follow the commands shown below.
# cp /cdrom/vmwaretools/vmware-solaris-tools.tar.gz /tmp/
# cd /tmp
# gzip -d vmware-solaris-tools.tar.gz
# tar -xvf vmware-solaris-tools.tar
# cd vmware-tools-distrib/
# ./vmware-install.pl
Set default options for the installer script. Just press enter at every question the script asks and you are good to go.You need to reboot the VM for the installation to complete.
# shutdown -i6 -g0 -y
Enabling remote root login
To be able to login remotely into the virtual machine with root login use the settings shown below. Firstly hash-out the CONSOLE parameter.
# vi /etc/default/login
#CONSOLE=/dev/console
Also change the parameter PermitRootLogin from no to yes as shown below.
# vi /etc/ssh/sshd_config
PermitRootLogin yes
Refresh the ssh service in order to re-read the configuration files we just modified.
# svcadm refresh ssh
Cloning the Virtual machine
Now you can either create a new virtual machine and do everything we did above all over again or clone the existing solaris 10 virtual machine and do a sys-unconfig to simply change the hostname and IP address of the solaris 10 VM. Cloning the existing VM to create the node 2 of the LAB setup will save our time.
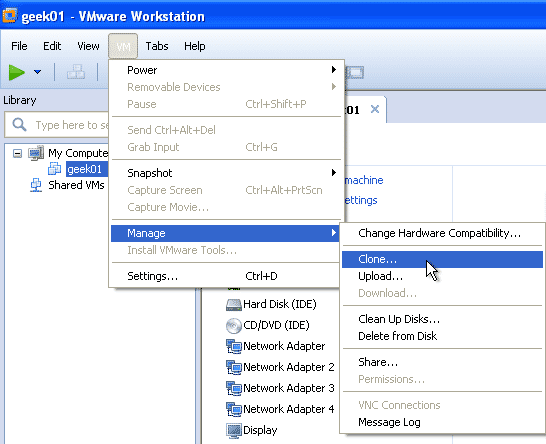
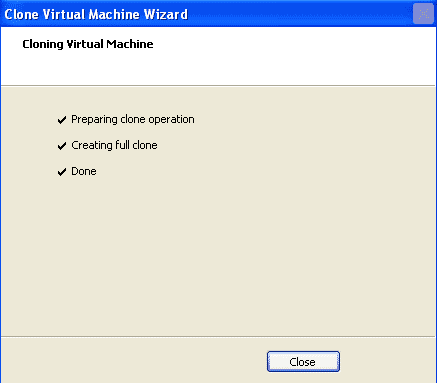
To start cloning select the VM and go to VM > Manage > Clone
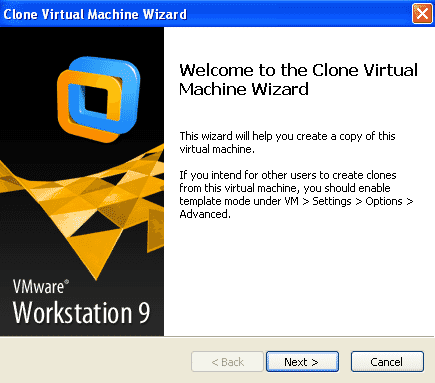
Cloning wizard will start. click Next.
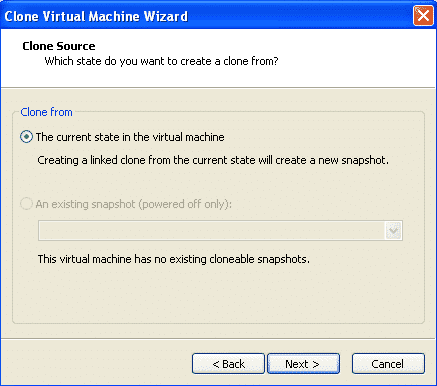
Select the default option of “clone from current state of the VM”
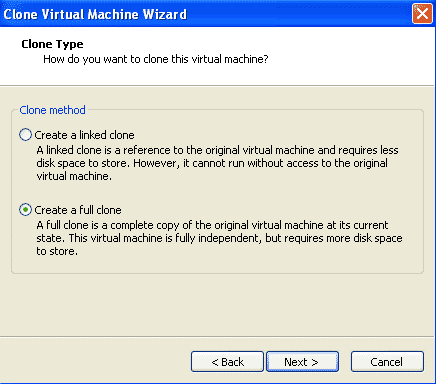
We would create a full clone in order to have an independent virtual machine.
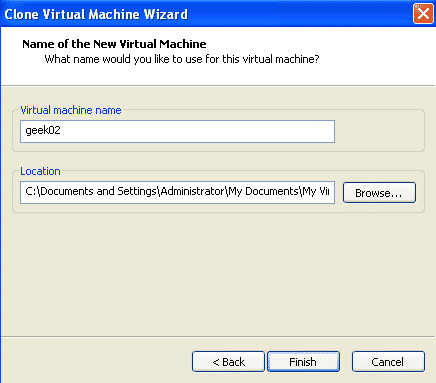
Set the name of the virtual machine name as geek02 and set the location to store the vmdk files.
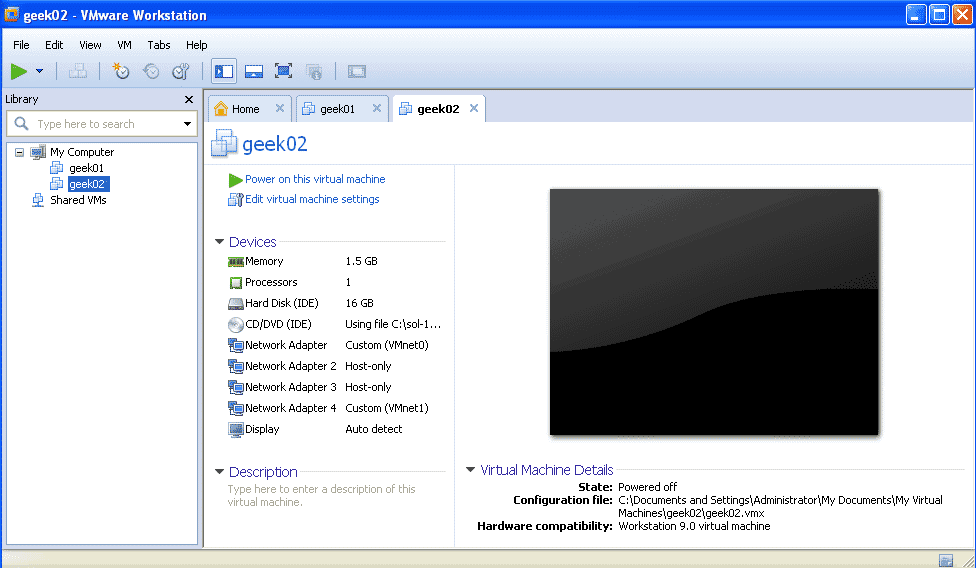
The final configuration of the two virtual machines would look as shown below.
Configuring passwordless ssh
As a requirement of VCS installation we need to configure a passwordless ssh for root user for the 2 solaris VMs. Perform below steps serially on respective nodes.
Step 1 : Generate rsa keys on geek01 and geek02
Generate rsa keys for both nodes with default settings, and empty passphrase.
geek01# ssh-keygen -t rsa
Generating public/private rsa key pair.
Enter file in which to save the key (//.ssh/id_rsa):
Created directory '//.ssh'.
Enter passphrase (empty for no passphrase):
Enter same passphrase again:
Your identification has been saved in //.ssh/id_rsa.
Your public key has been saved in //.ssh/id_rsa.pub.
The key fingerprint is:
6c:45:6a:79:7f:7c:28:19:f2:9e:0c:4e:24:11:42:98 root@geek01
geek02# ssh-keygen -t rsa
Generating public/private rsa key pair.
Enter file in which to save the key (//.ssh/id_rsa):
Created directory '//.ssh'.
Enter passphrase (empty for no passphrase):
Enter same passphrase again:
Your identification has been saved in //.ssh/id_rsa.
Your public key has been saved in //.ssh/id_rsa.pub.
The key fingerprint is:
0b:71:b5:85:bf:41:35:4d:d6:c9:1a:d0:ec:05:55:ff root@geek02
Step 2 : Setup /etc/hosts file
Both hosts should have entry for the other host as follows
geek01# cat /etc/hosts
#
# Internet host table
#
::1 localhost
127.0.0.1 localhost
192.168.1.10 geek01 loghost
192.168.1.11 geek02
geek02# cat /etc/hosts
#
# Internet host table
#
::1 localhost
127.0.0.1 localhost
192.168.1.11 geek02 loghost
192.168.1.10 geek01
Step 3 : add id_rsa.pub to the file authorized_keys of other host
geek01 # scp -r /.ssh/id_rsa.pub geek02:/.ssh/authorized_keys
geek02 # scp -r /.ssh/id_rsa.pub geek01:/.ssh/authorized_keys
Setting up the IP for connecting to openfiler storage
We need to set an extra IP address to be able to connect to the openfiler storage. To do so select the e1000g3 interface.
geek01# dladm show-dev
e1000g0 link: up speed: 1000 Mbps duplex: full
e1000g1 link: unknown speed: 0 Mbps duplex: unknown
e1000g2 link: unknown speed: 0 Mbps duplex: unknown
e1000g3 link: unknown speed: 0 Mbps duplex: unknown
Setup the files /etc/hostname.e1000g3 and /etc/netmasks for the new IP address.
geek01# echo "10.10.10.11" > /etc/hostname.e1000g3
geek01# echo "10.10.10.0 255.255.255.0" > /etc/netmasks
Now restart the service network/physical for the new IP address to get assigned.
geek01# svcadm restart network/physical
Here is the new IP plumbed on the e100g3 NIC card and up/running.
geek01# ifconfig -a
lo0: flags=2001000849<UP,LOOPBACK,RUNNING,MULTICAST,IPv4,VIRTUAL> mtu 8232 index 1
inet 127.0.0.1 netmask ff000000
e1000g0: flags=1000843<UP,BROADCAST,RUNNING,MULTICAST,IPv4> mtu 1500 index 2
inet 192.168.1.10 netmask ffffff00 broadcast 192.168.1.255
ether 0:c:29:99:e1:6e
e1000g3: flags=1000843<UP,BROADCAST,RUNNING,MULTICAST,IPv4> mtu 1500 index 3
inet 10.10.10.11 netmask ffffff00 broadcast 10.10.10.255
ether 0:c:29:99:e1:8c
Similarly configure the IP 10.10.10.12 on the second node geek02 for it to connect to the shared storage.
Okay.. we are good to go with the 2 Solaris 10 VMs up and running. Now we can configure the VM for the shared storage.
VCS cluster 5.1 LAB using VMware workstation : Installing solaris
VCS cluster 5.1 LAB using VMware workstation : Installing openfiler
VCS cluster 5.1 LAB using VMware workstation : Configuring openfiler
VCS cluster 5.1 LAB using VMware workstation : Installing VCS