To configure a shared storage for this setup we’ll be using openfiler. We need to create an openfiler VM with 512 MB RAM and 3 Disks of 500 MB for I/O fencing. Also to install the openfiler OS we need a 10GB HDD. Click on the create new virtual machine icon from home screen to get started.
Select typical configuration for this VM.
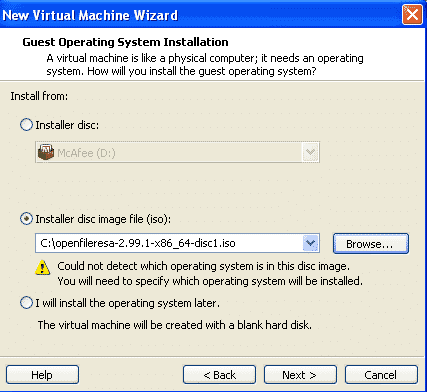
Select the ISO for the openfiler.
Select the operating system as Other and version as FeeBSD
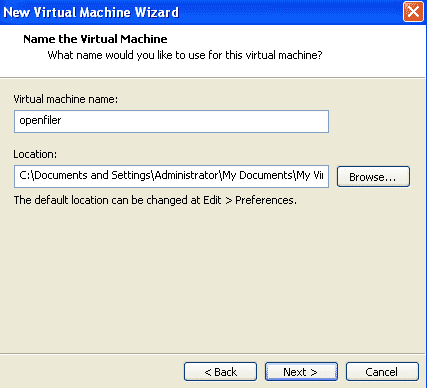
Set the name of the virtual machine as openfiler. You can also set a different location to save the files of this VM.
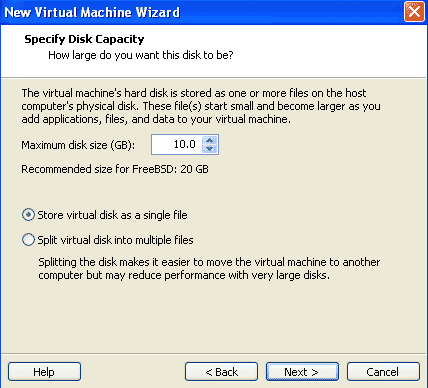
Set the size of boot disk of the virtual machine as 10GB.
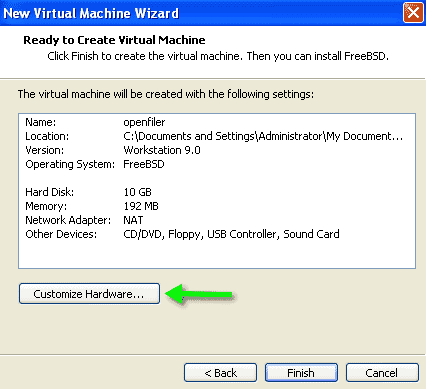
Now click on customize hardware.
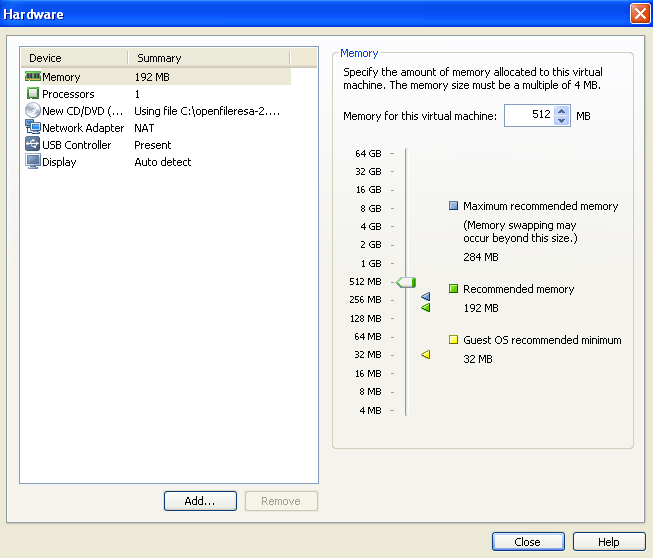
Set the memory of this virtual machine to 512 MB
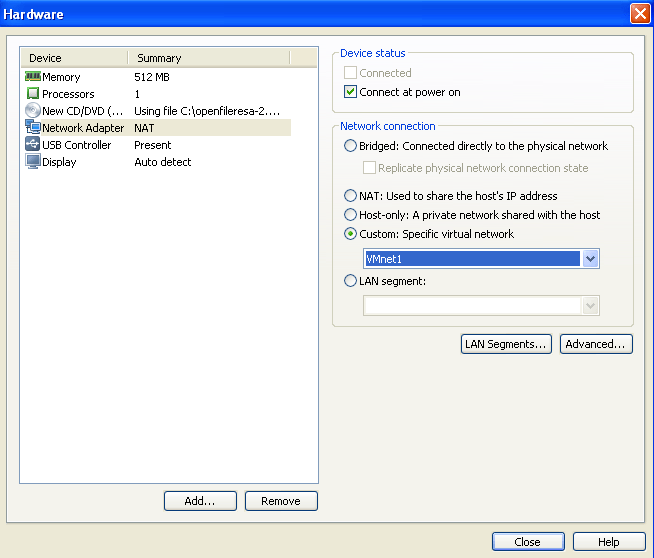
Select VMnet1 as the network for the default NIC card. This network has a subnet IP of 10.10.10.0/255.255.255.0
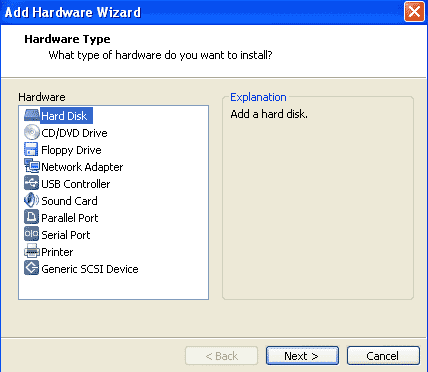
We need to add 3 more HDD other than the boot disk of 10 GB. Each disk will be of size 500 MB. Click on add and select Hard disk, to add a new hard disk.
Select “create new virtual disk”
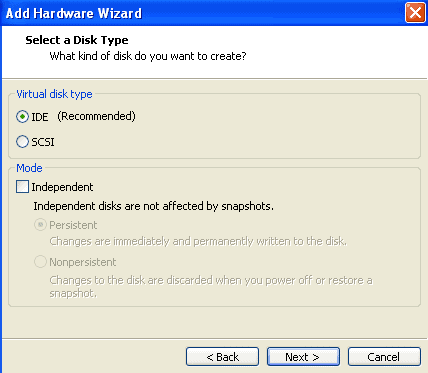
Set the virtual disk type as IDE
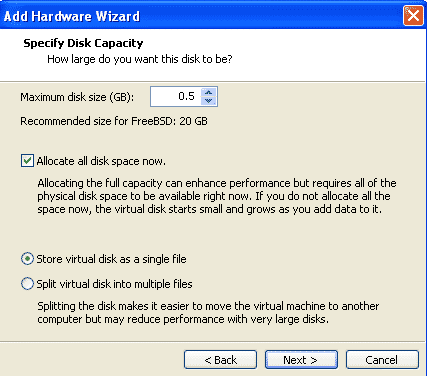
Set the size of disk as 500 MB and make sure the option Allocate all disk space now is selected.
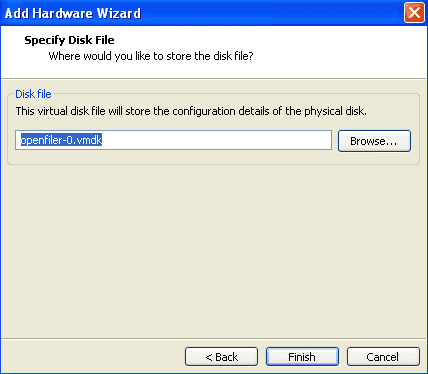
Set the name of the virtual disk file.
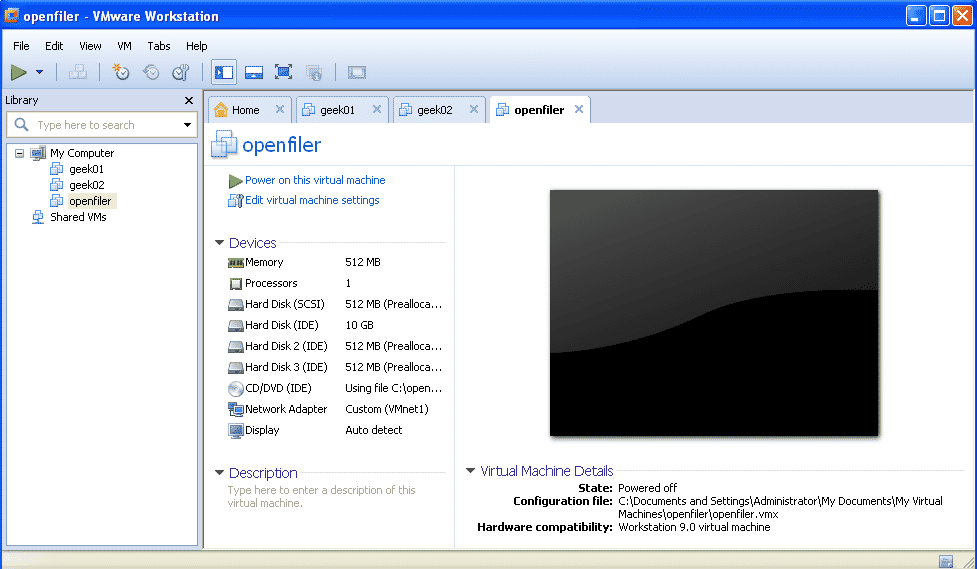
Now similarly add two more 500 MB disk to this VM. The final configuration of the virtual machine should look like below.
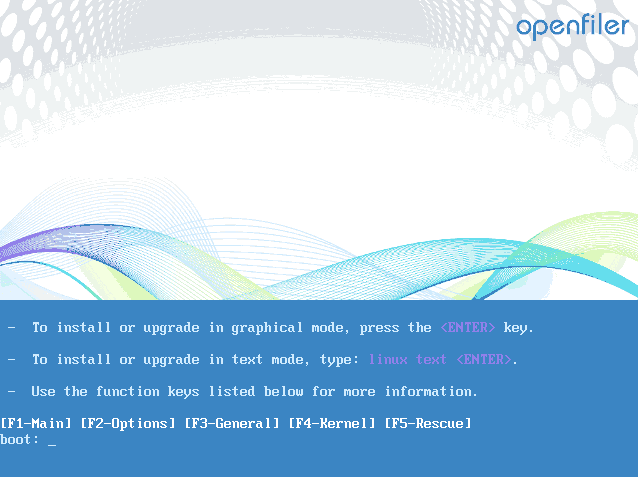
Now we can boot up the virtual machine and start installing the openfiler. The installation of openfiler is pretty easy with few next clicks. To start the installation just press enter on the first screen of installation.
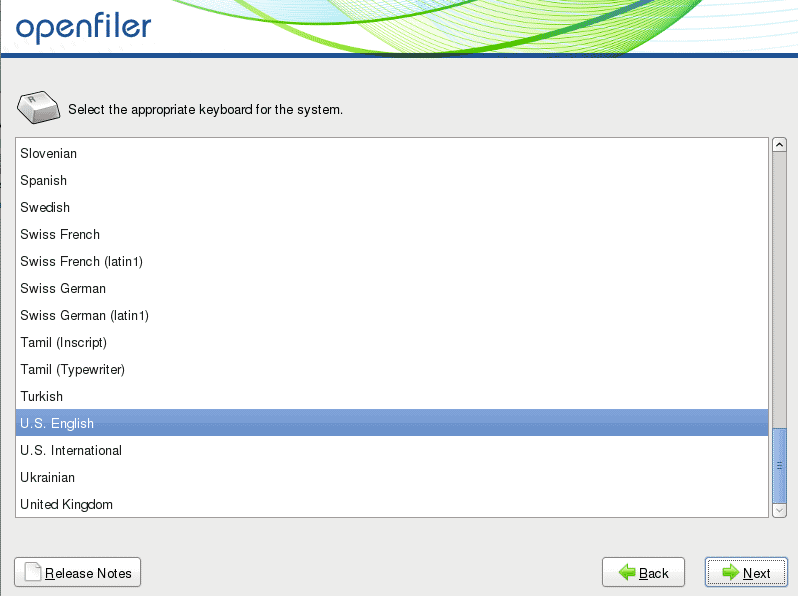
Select the keyboard layout as U. S. English
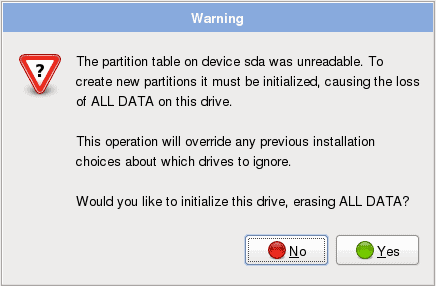
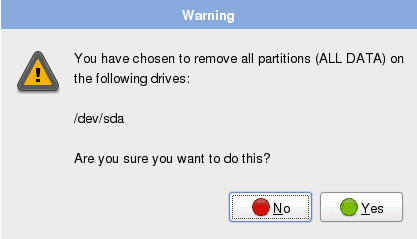
The data on all the disks will be erased. Click yes to all the warnings.
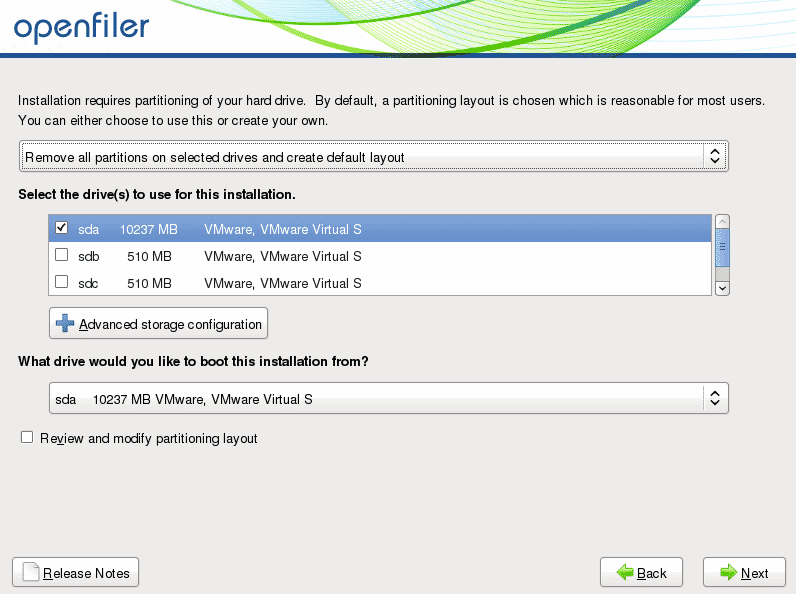
Now set the hard disk sda as the installation disk. Make sure you untick other disks.
Again click yes on the warning.
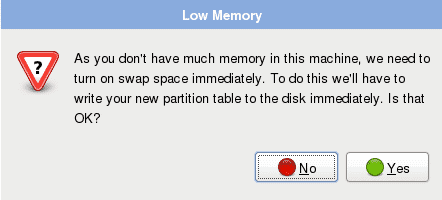
We may get this warning due to low memory assigned to this VM. In this case some swap space will be assigned to the VM. Click yes to the warning regarding this.
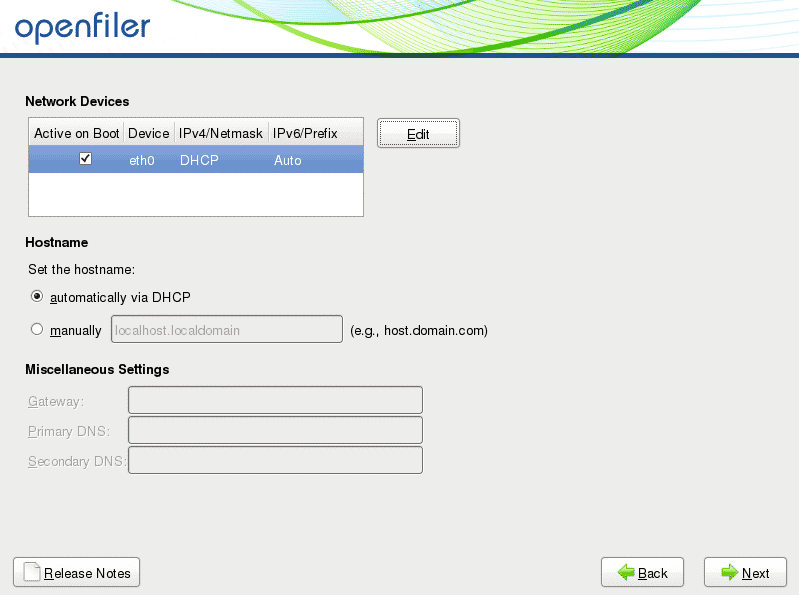
Now let us configure the network of this Virtual machine. Select the NIC eth0 and click edit.
Now set the IP address of eth0 as 10.10.10.10 and netmask as 255.255.255.0. We do not need IPv6 configuration so un tick the IPv6 option.
Also set the hostname of the virtual machine as openfiler.
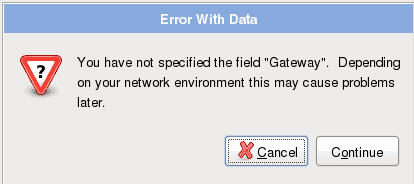
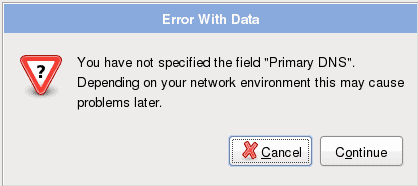
Ignore the warnings about gateways and primary/secondary DNS.
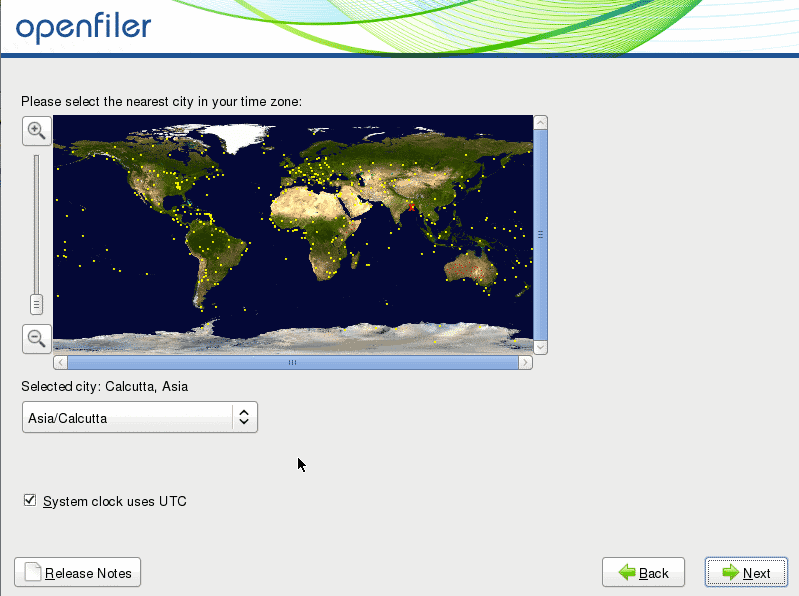
Set the time zone on the next screen according to your location.
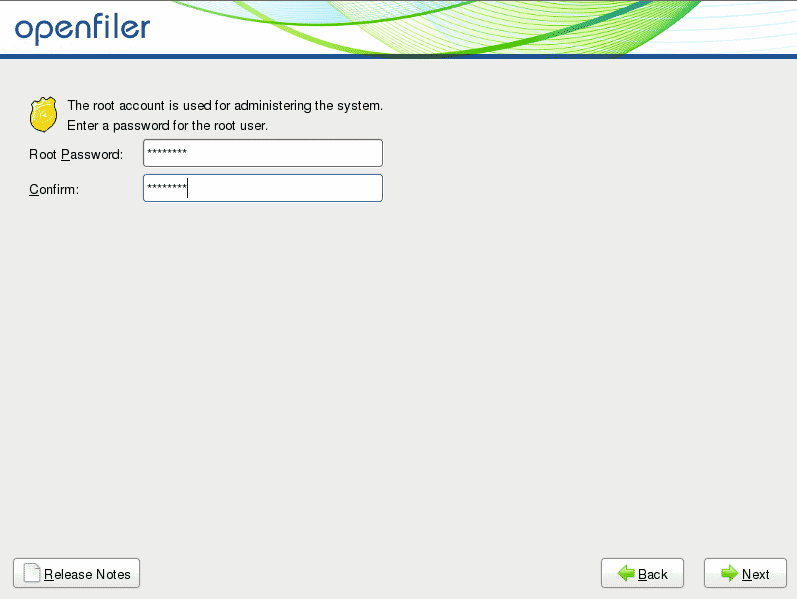
Set the root password for the virtual machine.
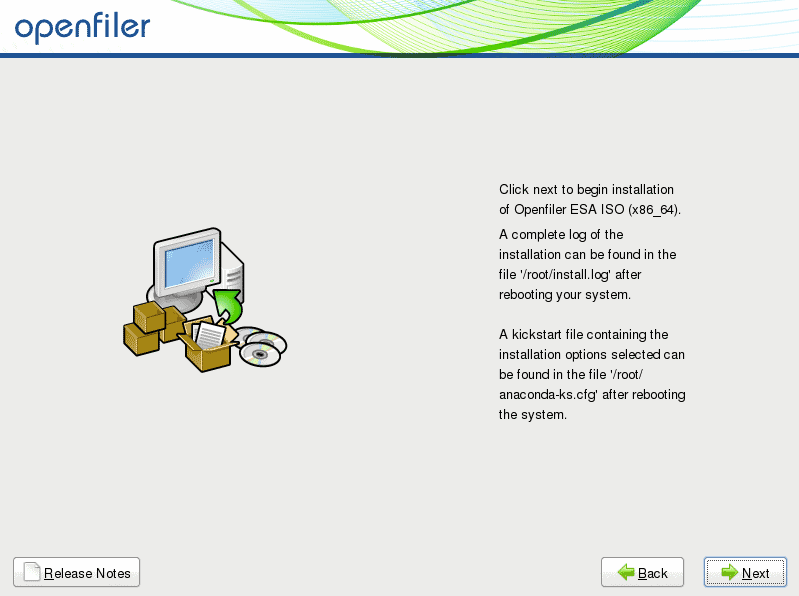
Click next and start the installation.
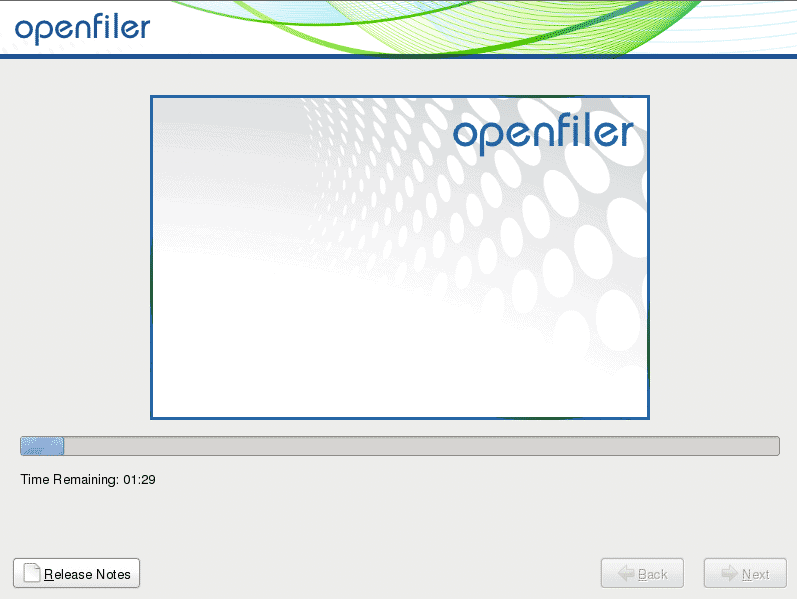
The installation would start as shown below and would take around 15 minutes to complete.
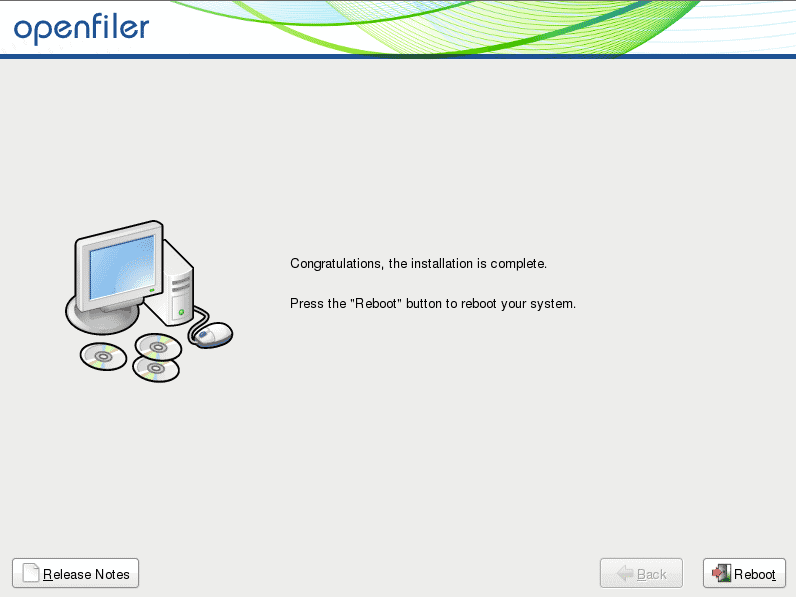
After the completion of the installation reboot the virtual machine.
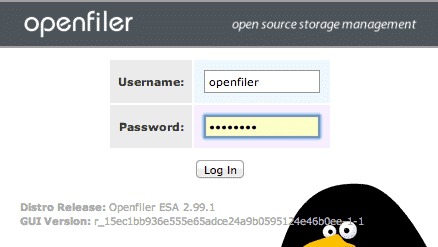
The VM graphical console can be accessed now by typing below URL into your host machine browser :
Administrator Username: openfiler
Administrator Password: password
We are good to go with the openfiler storage configuartion now. In the next post we will configure the openfiler storage and assign the shared storage to the 2 solaris 10 VMs.
VCS cluster 5.1 LAB using VMware workstation : Installing solaris
VCS cluster 5.1 LAB using VMware workstation : Installing openfiler
VCS cluster 5.1 LAB using VMware workstation : Configuring openfiler
VCS cluster 5.1 LAB using VMware workstation : Installing VCS