Turnkey Linux NFS Server
Turnkey Linux (www.turnkeylinux.org) allows for an easy implementation of an nfs server. All you have to do is download the .iso file or the fileserver appliance. Some of the benefits of Turnkey Linux servers are:
- Secure and easy to maintain
- 1-click backup and restore
- Easy to use
- lightweight
- Assured integrity
In this case, I downloaded the .iso and created a virtual machine in order to test how easy it would be to create an nfs server.
Here are the steps:
1. Go to turnkeylinux.org and download the .iso image. Burn it into a dvd if you want.
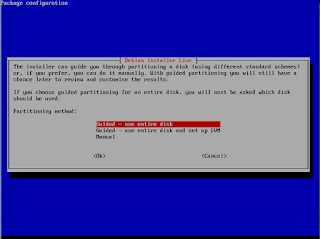
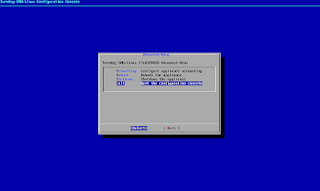
2. Create a generic linux vm with a 16gb disk. Connect the .iso to the virtual cd. Boot the vm and open up the console. Select the Guided installation (use the entire disk). Click on OK.
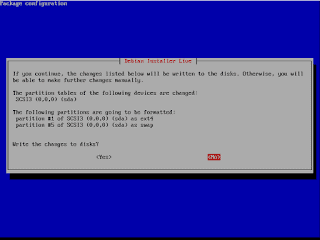
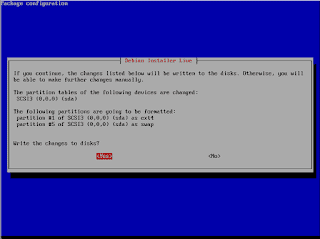
3. Change to Write the changes to disks to yes and press Enter.
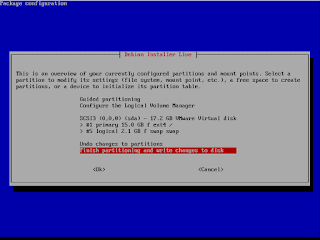
4. Click on Ok to finish partitioning.
5. Select Yes to Write the changes to disk.
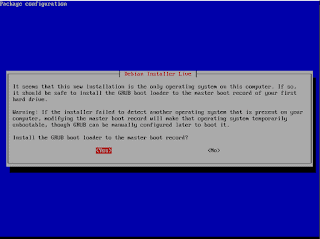
6. Agree to install the Boot Loader.
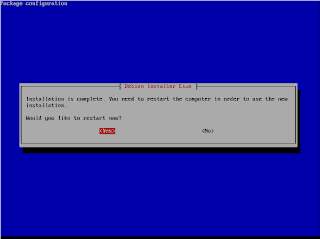
7. Agree to Restart Now.
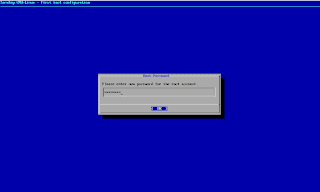
8. Give your system a root password (twice).
9. Skip the installation of other services.
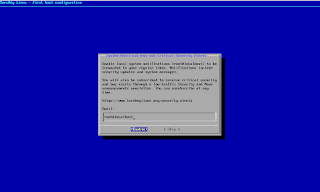
10. Provide an email address for root (optional).
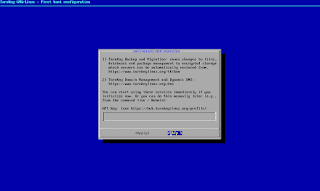
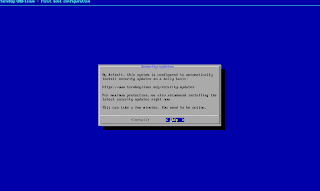
11. Skip the installation of updates.
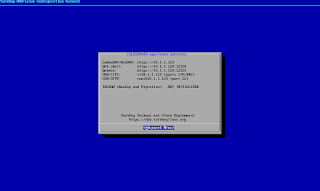
12. Notice the IP the appliance obtained and the ports to use. My lab has a DHCP server.
13. Select Quit.
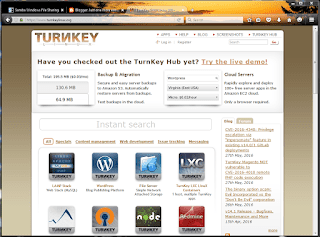
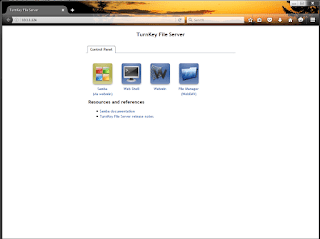
14. Launch your browser and connect to the appliance.
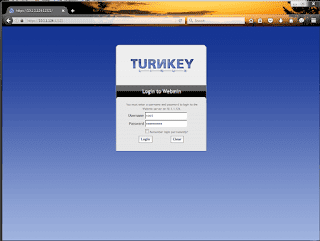
15. Click on Webmin and log in as root.
16. Notice all the options available.
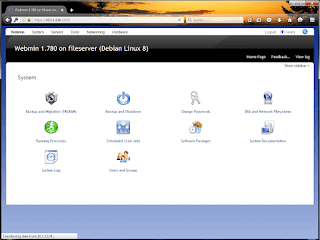
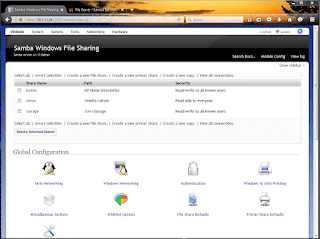
17. Click on Servers and select Samba Windows File Sharing. By default, the system is alredy sharing a directory called /srv/storage.
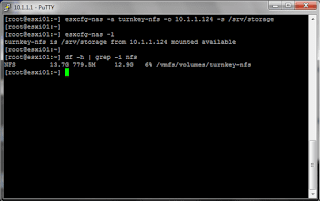
18. Test the mounting of the share. You can do this with the vSphere Client, the Web Client or the c.l.i.
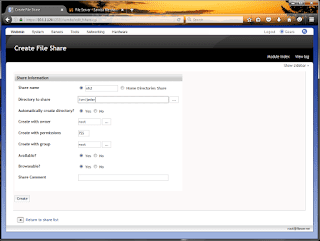
19. Want to create another share? Click on Create a New File Share and add the necessary fields.
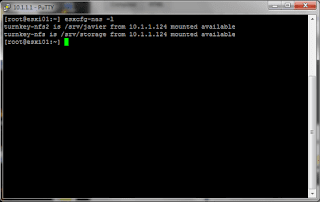
20. Test it again, works great.
Final Note
There’s a lot more you can do with this software. You can add other drives and shared them if you want. Play with logical volume management. Simply cool.