ClusterSSH(cssh) is a cluster administration tool, it is used to make the same change on multiple Linux servers at the same time. ClusterSSH(cssh) controls a number of xterm windows via a single graphical console window to allow commands to be interactively run on multiple Linux servers over an ssh or rsh connection.
Cssh command opens an administration console and an xterm to all specified hosts. Any text typed into the administration console is replicated to all windows. All windows may also be typed into directly.
Installation of ClusterSSH on Ubuntu
Use the apt-get command to install required package:
# sudo apt-get install clusterssh
Installation of ClusterSSH on CentOS/RHEL/Fedora
To install ClusterSSH on CentOS/RHEL/Fedora, first set up EPEL repository, and then run the below Command:
# yum install clusterssh
After installation, define the cluster of hosts that we want to run commands on. To do this, create a system-wide ClusterSSH configuration file as follows.
# sudo vi /etc/clusters

If we want a user-specific ClusterSSH configuration, simply use ~/.csshrc instead of /etc/clusters. In the above example, I define two clusters: nsit_cluster1, nsit_cluster2 along with hosts.
Example 1: To launch ClusterSSH, run cssh command as follows.
# cssh -l root nsit_cluster1
In the above command, ‘root’ is the login ID for all the hosts in the cluster, and ‘nsit_cluster1’ is the cluster name.
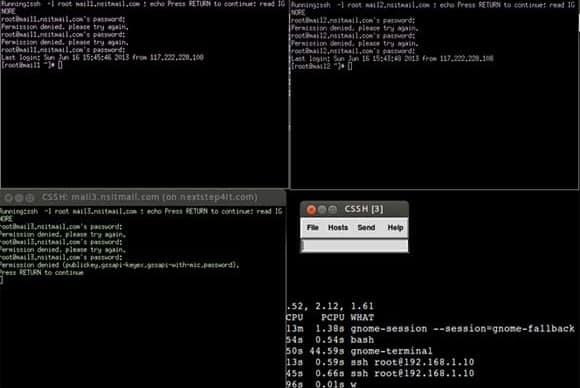
Example 2: Individual hostname instead of the cluster name.
# cssh -l root mail1.nsitmail.com mail2.nsitmail.com mail3.nsitmail.com
In the Above command, just replace the hostname according to your environment.