In the last post we installed the Open-e DSS V7 Lite software. Let us now configure it in order to provision iSCSI storage for the 2 VM nodes of the cluster.
Creating iSCSI volume
We have allocated four 10Gb HDD for the VM. One out of this is used for the OS installation of Open-e DSS. The rest 3 will be used to create a new volume group.
In order to create an iSCSI Volume within a Volume Group, go through the following steps:
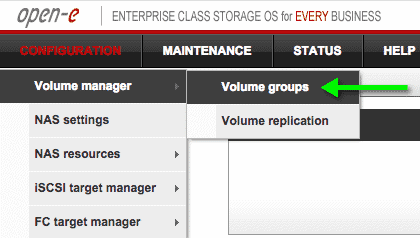
1. Click Configuration → Volume Manager → Volume Groups.
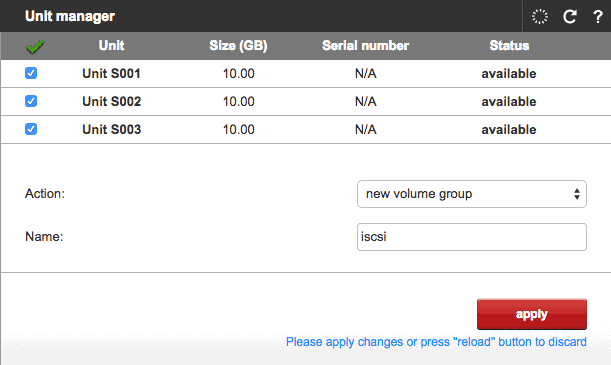
Select the 3 disks of 10GB and click apply to create new volume group name iscsi.
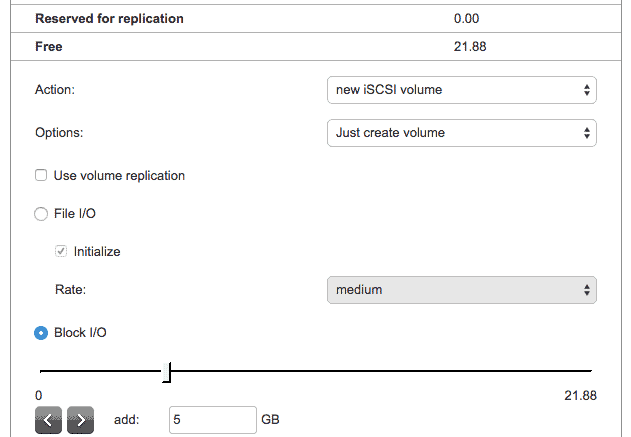
2. Click on Volume Group iscsi and navigate to the Volume manager panel. Create 3 iscsi volumes of 5GB each.
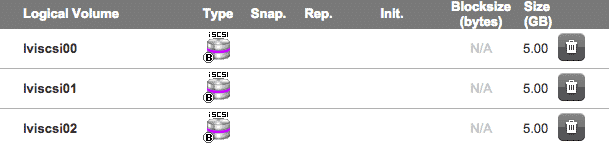
The result should be 3 volumes of size 5GB each :
Creating iSCSI target
The next step is to create iscsi targets and attache the 3 volumes to this target. The steps are :
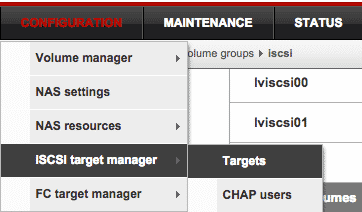
1. Click Configuration → iSCSI target manager → Targets.
2. In the Create new target panel, click apply to create new target.
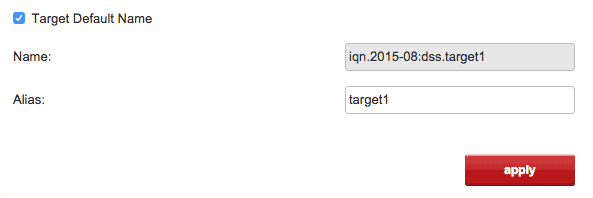
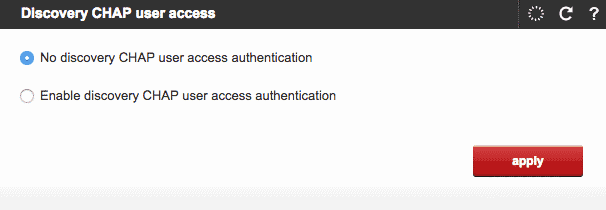
3. Do not enable the discover CHAP user access authentication.
4. Within Target volume manager panel, attach the recently created target to all 3 volumes we created previously.
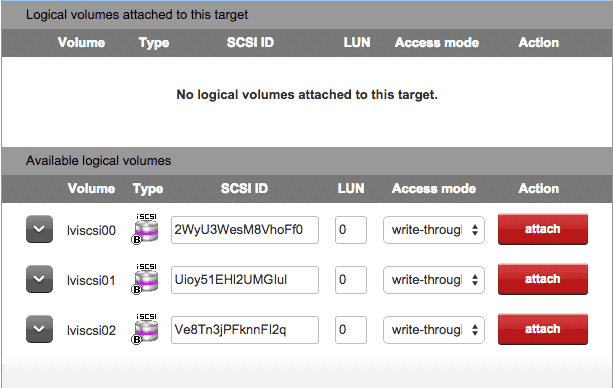
You should see all 3 volumes attached to the target once you finish.
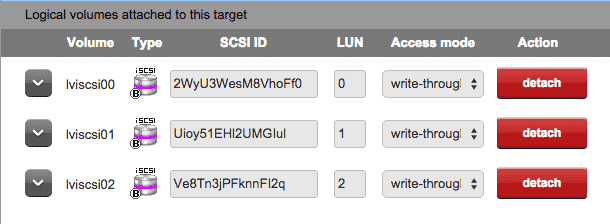
Configuring iscsi storage on Linux nodes
The final step is to add these 3 iSCSI volumes to the OEL nodes that we have created. Perform below steps on both the nodes to configure the shared storage for I/O fencing.
1. Install the iscis-initiator rpm on both nodes :
# yum install iscsi-initiator-utils
2. Configure IP address of iscsi target [ open-E DSS ]
# iscsiadm -m discovery -t st -p 192.168.1.120
Starting iscsid:                                           [  OK  ]
192.168.1.120:3260,1 iqn.2015-08:dss.target0
3. Restart the iscsi service for the changes to take effect.
# service iscsi restart
Stopping iscsi:                                            [  OK  ]
Starting iscsi:                                            [  OK  ]
4. Confirm the new LUNs added to the nodes
You should see the 3 new disks added to the system.
# fdisk -l
This was the last step in the configuration. Now we can start the final step of installting the SFHA software finally.